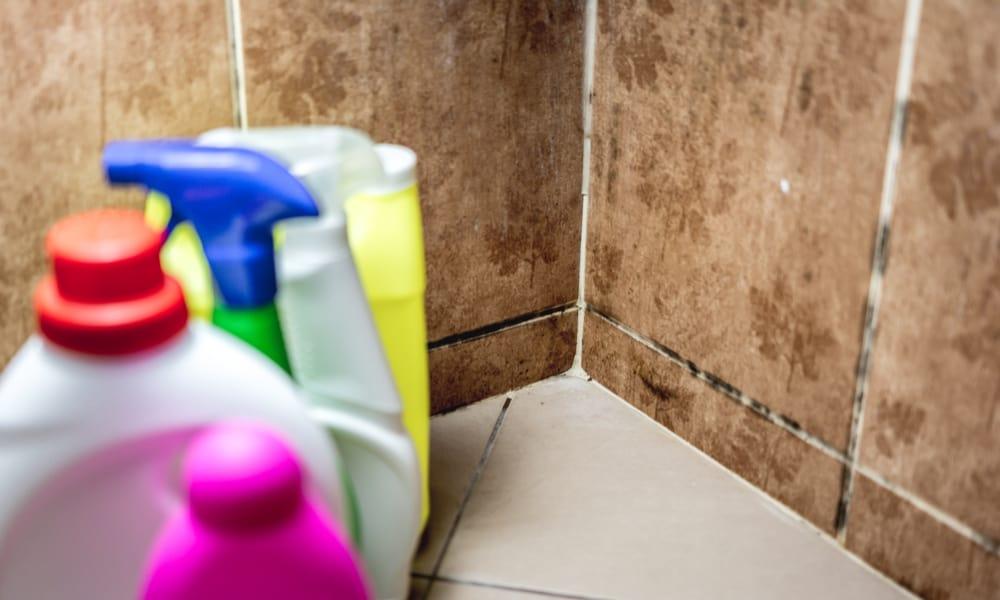
Q: I'd like to know how to clean the mildew from the silicone seals in my frameless shower. The shower never looks clean with that blackened silicone. Or would I be better off to remove the silicone and settle for a little water leaking out?
A: Chlorine bleach removes mildew stains. When the stains are on silicone sealant, one trick is to place wads of toilet tissue against the stained areas and then dampen them with bleach. An old toothbrush works well as a tool for transferring the bleach. Leave the dampened paper in place for half an hour or so, then collect the wads and rinse the shower area.
If there are significant gaps in the sealant, you might want to remove and replace it. Do not just leave the gaps unsealed, however. The biggest challenge is removing all of the old caulk, given that silicone sticks so well. Use a razor scraper with single-edge razors to cut and peel away the silicone and to scrape off any remnants. It helps to use caulk remover, such as 3M Indoor/Outdoor Caulk Remover ($8 at Ace Hardware stores). Clean up any residue, using rubbing alcohol to remove residual soap scum.
People are also reading…
Spread painter's tape on either side of the seam, with the two pieces spaced just far enough apart to accommodate the widest gap between the two surfaces you are sealing. Cut the tip of the tube of new sealant so it applies a bead no wider than the gap. The website Family Handyman recommends cutting the tip at an angle of only 20 percent and applying the sealant with the tube at a right angle to the seam, which allows you to complete the whole pass in one motion. That goes a long way toward getting a uniform bead. If you apply the sealant the usual way, at an angle of 45 degrees or so, you run out of working space at the corners and have to interrupt the application.

Immediately smooth the sealant with a damp index finger -- one pass only. If it doesn't look perfect and you try to tidy it up by going over it a second time, you will almost certainly make it messier. Remove the tape immediately, or there will be a ridge -- a place for mildew to grow -- along the edges of the caulk.
Have mineral spirits on hand to clean up smears of silicone caulk. A top-quality caulking gun is also important; the plunger mechanism delivers a more uniform bead than a cheap caulking gun does.
Q: We recently purchased a home built in 1948. It still has the original peephole made by Magic Mirror. Unfortunately, the mirror on the outside is cracked. Is it possible to repair the crack or replace the mirror?
A: Chaudron Glass & Mirror in Baltimore (410-685-1568; chaudronglass.biz) may be able to help you if you remove the peephole and take it to the shop. Founded in 1900, this family-run business now in its fifth generation tackles jobs big and small involving glass and mirrors. It still resilvers mirrors, "the only company that we know of on the East Coast that still does that," said a spokeswoman who identified herself only as Valorie.
To remove the peephole, score any paint along the edges with a sharp utility knife. You might just need to loosen a screw to remove the inside portion, but some peepholes require channel-lock pliers to grip the edges of the interior piece and unscrew it. The exterior portion should slip out once you score the paint edges there. For an online video that shows the process, do a Google search for "how to remove and install a door peephole."
If you removed the peephole and find it can't be repaired, you'll find plenty of modern replacements. Also, vintage peepholes are often listed on eBay.
Tags
For the holidays: Get inspiring home and gift ideas – sign up now!
* I understand and agree that registration on or use of this site constitutes agreement to its user agreement and privacy policy.